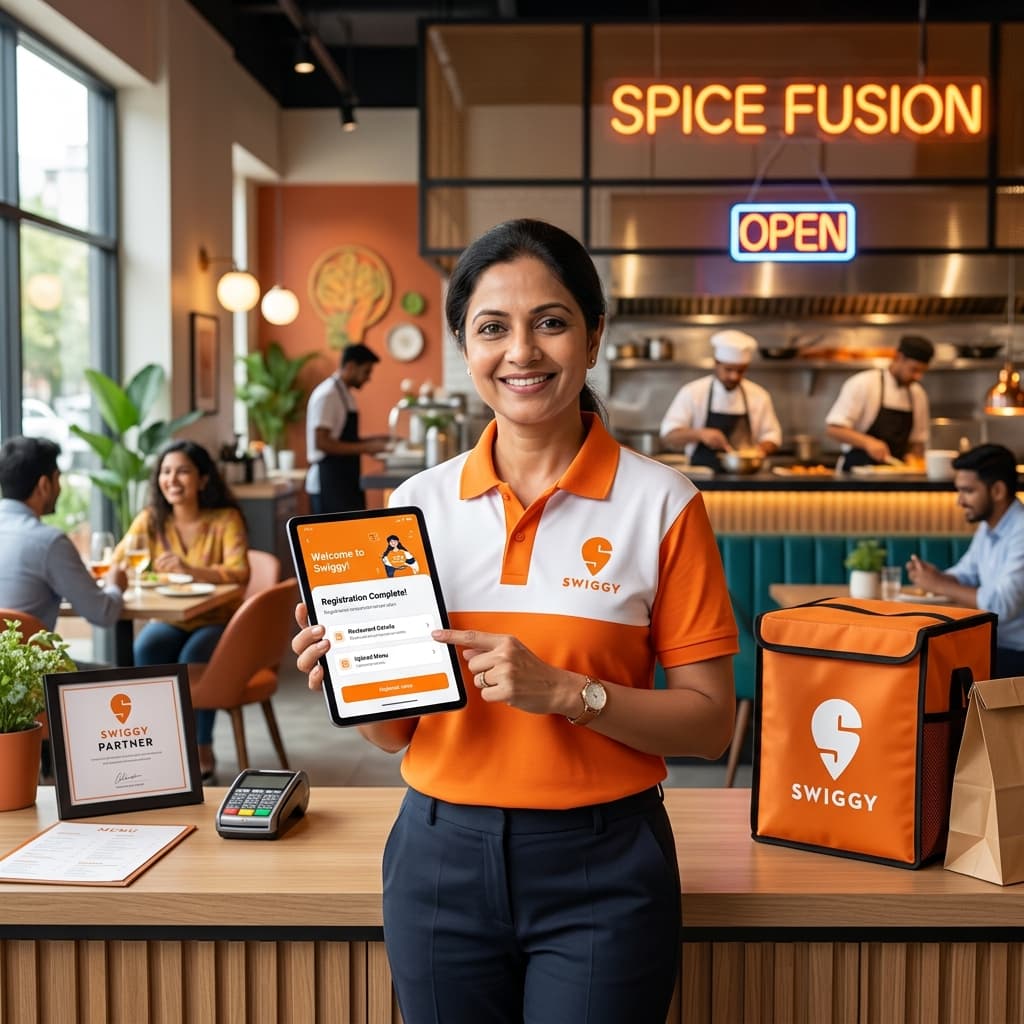
Getting your restaurant listed on Swiggy is one of the most important steps you can take to grow your food business in India. With over 10 crore+ active users on Swiggy and millions of orders placed every day, not being on Swiggy means leaving a massive revenue stream untapped.
This complete Swiggy onboarding guide walks you through every step of the Swiggy restaurant registration process — from documents required to going live — so you can get your restaurant on Swiggy as quickly and smoothly as possible.
What is Swiggy Onboarding for Restaurants?
Swiggy onboarding is the official process through which a restaurant gets registered and listed on the Swiggy food delivery platform. Once onboarded, your restaurant appears in Swiggy's app for customers in your delivery area, allowing them to browse your menu, place orders, and get food delivered to their doorstep.
The Swiggy partner onboarding process involves submitting your restaurant details, uploading the required documents, menu setup, and completing the verification process. Swiggy reviews your application and, once approved, your restaurant goes live on the platform.
Documents Required for Swiggy Restaurant Registration
Before starting the Swiggy onboarding process, keep these documents ready. Incomplete documentation is the most common reason for delays in Swiggy registration approval.
- FSSAI License — Valid FSSAI registration or license certificate (mandatory for all food businesses)
- GST Registration Certificate — Required if your annual turnover exceeds ₹20 lakhs
- PAN Card — PAN card of the restaurant owner or business entity
- Bank Account Details — Cancelled cheque or bank passbook copy (for payment settlements)
- Restaurant Photos — High-quality photos of your outlet (exterior, interior, kitchen)
- Menu with Prices — Complete menu listing with correct item names, descriptions, and prices
- Aadhaar Card— Owner's Aadhaar card for identity verification
- Establishment / Shop License — Local trade/shop license (varies by city)
💡 Pro Tip: Get your FSSAI license first — it is the single most important document for Swiggy registration. Without it, your application will not move forward.
Step-by-Step Swiggy Onboarding Process
Step 1 — Visit Swiggy Partner Portal
Go to partner.swiggy.comand click on "Register your Restaurant." You will need to enter your mobile number and verify it via OTP. This creates your Swiggy partner account.
Step 2 — Enter Restaurant Basic Details
Fill in your restaurant's basic information:
- Restaurant name (as it should appear on Swiggy)
- Full address with pincode
- Cuisine type(s) — select the primary cuisines your restaurant serves
- Operating hours — mention accurate opening and closing times
- Contact number for order-related communication
Step 3 — Upload Required Documents
Upload clear, legible scans or photos of all the documents listed above. Make sure documents are not expired and clearly show your restaurant's name. Blurry or cropped documents are a major cause of rejection.
Step 4 — Set Up Your Menu
This is the most critical step of Swiggy onboarding. Your menu directly determines how many orders you get. For each item, provide:
- Item name (clear and descriptive)
- Category (starters, main course, beverages, etc.)
- Price (competitive and accurate)
- Item photo (high-quality food photography significantly increases click-through rates — aim for professional shots)
- Veg/Non-veg tag (mandatory)
- Description (50–80 words with relevant keywords)
🚨 Warning: Restaurants with fewer than 10 items with photos receive significantly fewer orders. Always upload photos for your top-selling items at minimum.
Step 5 — Add Bank Account for Payment
Swiggy settles payments directly to your bank account. Add your restaurant's bank account details and upload a cancelled cheque for verification. Payment cycles are typically weekly.
Step 6 — Swiggy Verification & Approval
After submission, Swiggy's team reviews your application. This typically involves a physical or virtual verification of your restaurant. Once verified, you receive a confirmation and your restaurant goes live on Swiggy.
How Long Does Swiggy Onboarding Take?
The Swiggy onboarding timeline varies by city and document completeness. Here's a general timeline you can expect:
| Stage | Expected Duration |
|---|---|
| Document Submission | 1–2 days (your side) |
| Swiggy Initial Review | 2–3 working days |
| Verification Call/Visit | 2–5 working days |
| Final Approval & Go Live | 1–3 working days |
| Total (Typical) | 7–14 working days |
Swiggy Commission Structure — What You Pay
Understanding Swiggy's commission model is critical before you onboard. Swiggy charges a commission on every order placed through the platform. The commission rate typically ranges between 15% to 25% depending on:
- Your city (metro vs. tier-2)
- Your restaurant category
- Your chosen Swiggy plan
- Whether you use Swiggy One or standard delivery
You also have the option to run Swiggy in-app ads to boost visibility, which is an additional cost. At FoodFreely, we help restaurants optimize their ad spend to ensure positive ROI from day one.
5 Expert Tips to Maximize Your Swiggy Onboarding Success
1. Invest in Professional Food Photography
Studies show that menu items with professional photos receive 3x more clicks than items without photos. Before going live, hire a food photographer for your top 10–15 items. This single investment will pay for itself in the first week.
2. Research Your Competitors Before Setting Prices
Browse Swiggy as a customer in your area. See what similar restaurants charge. Price yourself competitively — not necessarily the cheapest, but clearly justified by quality and presentation.
3. Set Up Multiple Cuisine Tags Strategically
Swiggy allows you to tag your restaurant under multiple cuisines. Use this wisely — if you serve North Indian and Chinese both, tag both. This doubles your visibility in search results.
4. Optimize Your Menu Structure for Upselling
Arrange your menu categories so that high-margin items appear first. Use combo meals and bundled offers strategically. A well-structured menu can increase your average order value by 20–35%.
5. Get Your FSSAI and GST in Order First
These are non-negotiable. Apply for your FSSAI license before starting Swiggy registration. Without a valid FSSAI, your onboarding will stall. At FoodFreely, we've seen restaurants wait weeks simply because their FSSAI was pending.
Common Swiggy Onboarding Mistakes to Avoid
- Submitting expired FSSAI or GST documents — Always check expiry dates before uploading
- Poor quality photos — Blurry or dimly lit photos are rejected and delay your listing
- Incomplete menu — Missing prices or Veg/Non-veg tags will cause rejection
- Wrong operating hours — Setting hours you cannot actually maintain leads to bad reviews
- Not linking correct bank account — Payment issues are a common problem with wrong account details
What Happens After Swiggy Onboarding?
Going live on Swiggy is just the beginning. Once your restaurant is listed, the real work starts — getting visibility, attracting orders, and building ratings. Most new restaurants on Swiggy struggle in the first 30–60 days because they don't know how the Swiggy algorithm works.
At FoodFreely, we specialize in helping restaurants not just get listed on Swiggy but dominate their local market. Our post-onboarding services include listing SEO, in-app ad management, menu engineering, and review strategy — everything you need to go from zero to consistent orders.
Frequently Asked Questions About Swiggy Onboarding
Is Swiggy onboarding free for restaurants?
Yes, Swiggy's onboarding process itself is free. However, Swiggy charges a commission (15–25%) on each order placed through the platform.
Can I register on Swiggy without a GST number?
If your annual turnover is below ₹20 lakhs, you may not require GST registration. However, most growing restaurants are advised to get GST registration as it simplifies accounting and builds credibility.
How do I track my Swiggy onboarding status?
Log in to partner.swiggy.com with your registered mobile number. The dashboard shows your application status and any pending actions.
Can a home kitchen or cloud kitchen register on Swiggy?
Yes! Cloud kitchens and home kitchens can register on Swiggy. You need a valid FSSAI license for your kitchen's address. Swiggy has a dedicated program for cloud kitchens in select cities.
Conclusion
Swiggy onboarding is a straightforward process when you have all your documents ready and follow the steps correctly. The key is preparation — especially your FSSAI license, GST, and professional menu photos.
Once you're live, the real growth work begins. If you need help maximizing your Swiggy performance after onboarding — from listing optimization to ad management — FoodFreely's expert consultants are here to help. We've helped 150+ restaurants across India grow 35%+ in their first 45 days on Swiggy.